Sign-up to our mailing list
Manufacturing Beasts of Balance
One of the final steps in transforming our game from concept into a physical product, manufacturing Beasts of Balance has been an incredibly long—and loving—process. We thought it would be worth going through each step of the journey to show what goes into each set.
Article Contents
- Manufacturing Step 1: Injection Moulding
- Manufacturing Step 2: NFC Tag Insertion
- Manufacturing Step 3: Ultrasonic Welding
- Manufacturing Step 4: Rubberised Spray
- Manufacturing Step 5: Pad Printing
- Manufacturing Step 6: NFC Testing
- Manufacturing Step 7: Platform Calibration
- Manufacturing Step 8: Quality Control
- Manufacturing Step 9: Shrink Wrapping
Manufacturing Step 1: Injection Moulding
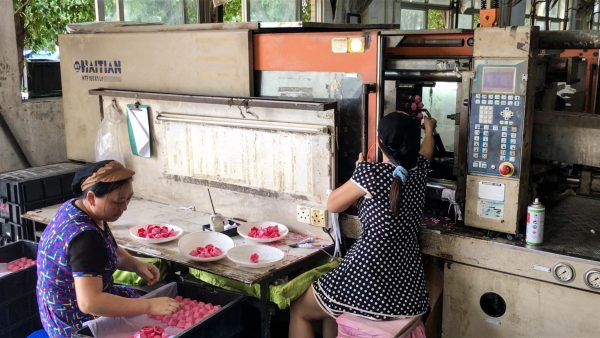
We melt down plastic pellets, then inject the molten plastic into our custom artefact moulds. Then, we carefully inspect and trim each piece to remove excess plastic. This leaves us with smooth, stackable sharks, ready for the next step.
Manufacturing Step 2: NFC Tag Insertion
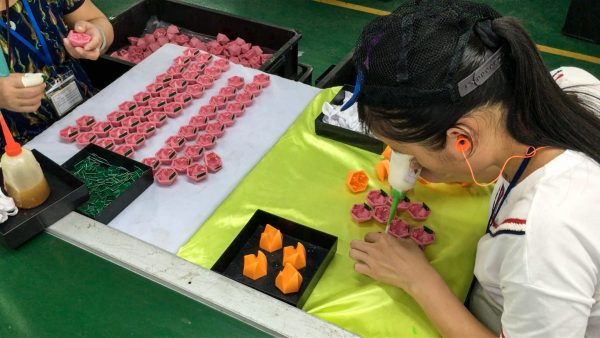
For the game to work, each artefact and beast needs to be programmed using an NFC tag. Before each half is welded together, a tag slots into the piece. Which leads nicely into…
Manufacturing Step 3: Ultrasonic Welding
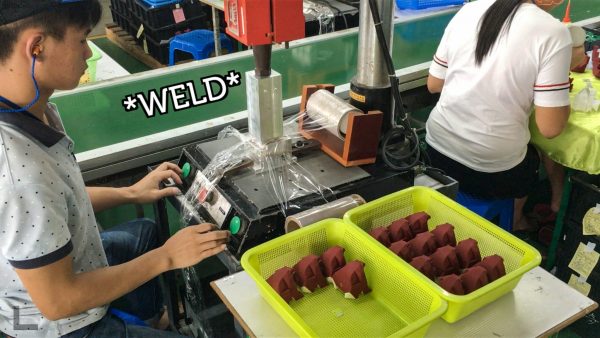
We weld our bears together with LOUD NOISES.
After the NFC tag is in place, each half is permanently welded together using high frequency vibrations Most of our pieces are comprised of two separately moulded halves–this process creates enough friction to melt each half together. Far stronger and neater than gluing, this makes our pieces durable for perpetual tumbling.
Manufacturing Step 4: Rubberised Spray
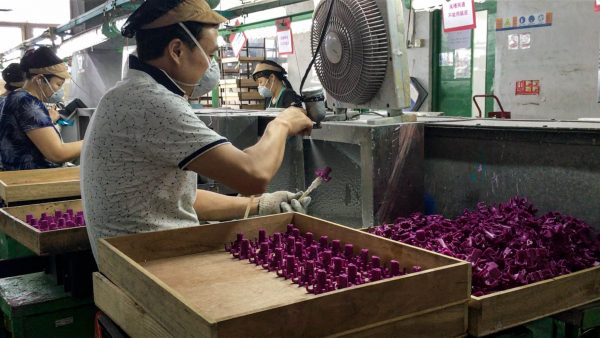
After being welded, each beast is finished with a rubberised spray.
Normally used on high-end electronics like laptops, this rubberised spray gives our pieces their lovely tactile finish. However, only some of the pieces are finished with the spray. Slipperiness factored into our gameplay design and some artefacts are more slippery than others.
Manufacturing Step 5: Pad Printing
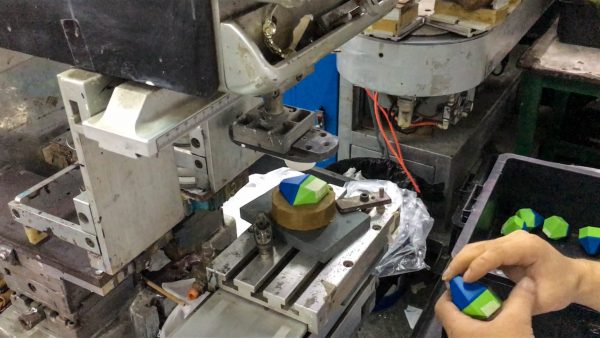
Printing our insignia is a crucial part of manufacturing Beasts of Balance.
Just like screen printing, a rubber stamp dips onto an ink-covered screen and then stamps the piece across the 3D surface. This process lets us print on any 3D shape, and requires constant adjustment and attention. If you own Amiibos, Skylanders, or Infinity Figures, this is how all those lovely small details are printed. After this step begins the testing process.
Manufacturing Step 6: NFC Testing
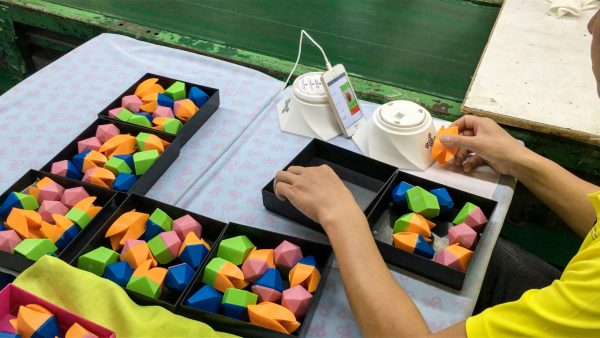
Each game piece is individually tested to make sure the NFC tag is programmed correctly.
First, we sort mountains of artefacts into individual sets, and pass them along to our testers. Using custom software, testers check every game piece to make sure the NFC tag is functioning properly, eventually resulting in piles of meticulously tested warthogs.
Manufacturing Step 7: Platform Calibration
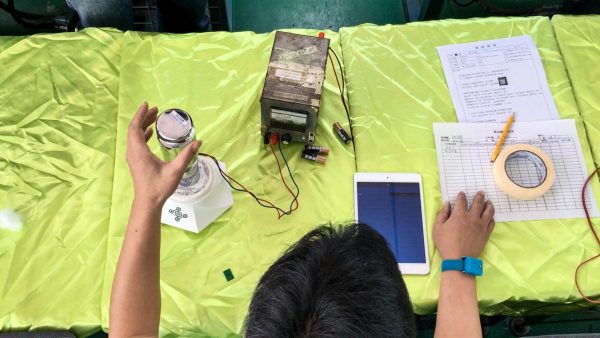
Under controlled conditions, every platform is calibrated precisely.
Next up, we calibrate our custom hardware plinth by testing it with a series of weights. This all takes place outside of the production line proper to ensure that no changes in air pressure affect the readings. Afterwards, the plinth and beasts get boxed up and sent along to be checked off one last time.
Manufacturing Step 8: Quality Control
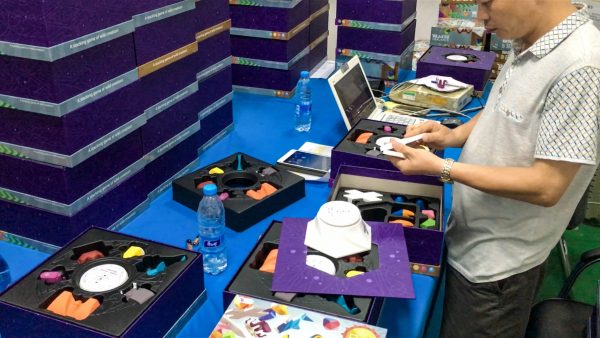
Each beast, artefact, and gameplay piece is individually examined.
Each set is individually inspected at the end of the production cycle to ensure every beast is perfect for balancing. As part of the process, testers regularly play full games of Beasts of Balance to test everything is working properly. They have become very, very, VERY good at our game.
Manufacturing Step 9: Shrink Wrapping
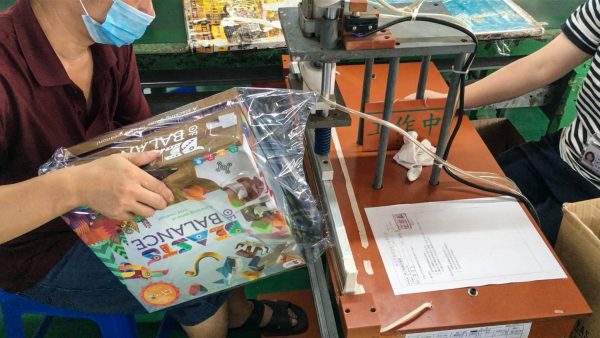
The first time we saw a shrink-wrapped game box, it brought a tear to our eye.
The first time we saw a shrink-wrapped game box, it was an emotional moment. So, remember that in the two seconds it’ll take you to rip it off and throw it away.
We’re always happy to answer questions about any part of this process! Drop us a line on Twitter or Facebook, and check out our Instagram for more behind the scenes manufacturing goodness.


